Traditionally, most wallpaper is installed by pasting the paper, folding it in on itself to book, and then hanging it on the wall. Until recently, this was the only method to install wallpaper. For novice installers and DIYers this method is messy and requires plenty of working space to paste the paper.
However, in the early 2000’s a new, easy to install wallcovering material was introduced. Unlike the more traditional vinyl and paper-based materials, non-woven wallpapers, offered a number of benefits:
- Dimensionally Stable
- Non-woven wallpapers don’t swell and expand when pasted, eliminating the need for booking.
- Paste-the-Wall Installation
- Eliminating booking allows non-wovens to be installed directly on the wall. Just paste and hang – no need for expansive pasting tables.
- Durability
- Non-wovens are tear-resistant, washable, and sturdy. This durability can make installation easier and improves the chances the wallcovering can be removed in full strips when it’s time to redecorate.
These benefits are possible because of the material that backs the wallpaper. The term non-woven is a bit misleading because it has nothing to do with the process, but rather, it is the name associated with the product. The backing paper is a mixture of natural and synthetic fibers with a look and feel that resembles coffee filters or tea bags.
This innovation simplified the installation process for DIYers and professionals alike. Simply paste the wall, hang your paper, and trim. No need for bulky pasting tables or time for booking. It’s no wonder that non-woven wallpapers are quickly becoming one of the most popular materials for residential installations.
Should I Paste The Wall Or Paste The Wallpaper?
Many of today’s most popular designs are manufactured on non-woven wallpaper, so they are perfect candidates for the paste the wall technique. Pasting the wall instead of the paper can be a cleaner, simpler process and provides the installer flexibility in lining up the panel to match patterns and get the seams tight.
The question is: which method is right for you? A comparison of the two methods will help you decide.

Tools Required For Hanging Wallpaper
Regardless of the method you choose, the list of basic equipment needed is generally the same. However, there are some tools that are particular to each technique that will be discussed in that section. The basic list includes:
- Carpenter’s level
- Tape measure
- Pencil
- Utility knife with new blade
- Step ladder
- Roller and/or paste brush
- Seam roller
- Smoothing tool
- Sponge and bucket
Hanging Wallpaper With Paste The Wallpaper Method
We’ll assume that the wall is clean and any previous wallpaper has been removed. The following steps are standard for any installation:
- Prep the walls by cleaning with a damp sponge and filling holes with drywall patch.
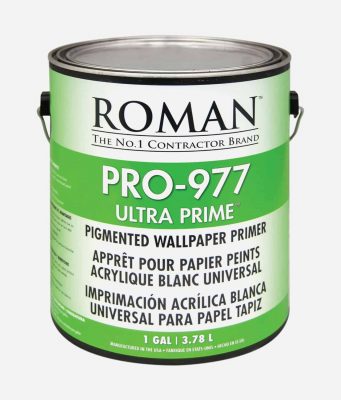
- Once dry, prime the walls with ROMAN PRO-977 Ultra Prime by applying an even coat on all surfaces. Allow to dry per instructions.
The paste the paper method requires that you have a pasting table available or an area to work on that is long enough to stretch the panel of wallpaper out flat in order to apply the adhesive to the back of it.

For delicate materials, you need to be very careful not to get the paste on the face of the wallpaper.
After you’ve applied the paste you will need to book the paper by folding each end in towards the center and allowing it to tackup. Most manufacturer’s recommend booking wallpaper for 3 -5 minutes, but be sure to check the specific hanging instructions for your paper. Once the adhesive has become tacky, you can hang the panel on the wall.
Hanging Wallpaper With Paste The Wall Method

The tools needed are from the basic list above, but you won’t need the pasting table or a pasting brush. Instead you will want a standard 9” paint roller and 2”- 3” brush for cutting in at the ceiling and seams. Starting with a clean wall, these are the steps to follow:
- Prep the walls by cleaning with a damp sponge and filling holes with drywall patch.
- Once dry, prime the walls with ROMAN PRO-977 Ultra Prime by applying an even coat on all surfaces. Allow to dry per instructions.
At this point, you will need to get your roller and roller pan and start applying the paste to the wall. ROMAN PRO-543 Universal or PRO-880 Ultra Clear Strippable are both excellent wallpaper adhesives, providing exceptional adhesion and allowing for an extended working time to position the wallpaper. Use the roller to apply the adhesive in an area slightly larger than the panel you are working with.

Use the brush to make sure you have paste at the ceiling and along the seams.

Then simply hang, smooth, and trim. Repeat the process for the remaining drops, being sure to match the pattern.
ROMAN Products Deliver Professional Performance Every Time
Whether you paste the wall or paste the wallpaper, you can depend on our quality line of adhesives and primers to make sure you get the job done right the first time. We have been an innovator in the industry for over 75 years and that is why our products are rated number 1 in America.
Contact our customer service team Monday through Friday, 8 AM to 4:30 PM CST, for guidance on the proper use of our products, and installation recommendations. We also welcome inquiries if you are a designer or architect looking to use our products on a commercial project. We look forward to hearing from you.


