ROMAN Products’ line of wallcovering adhesives, primers, and removers have been carefully designed to make the wallpaper installation process easy.
Even so, the process is a little more complicated than some homeowners realize. There is a certain amount of preparation that must be done before you begin hanging your wallpaper. The most important part of this is to get the wall in suitable condition.
Failure to prepare your wall correctly can result in serious issues with your installation. In some cases, these issues do not become apparent until months or years after the wallpaper has been set in place. That’s why the ideal approach is to take the time and effort to prepare your wall—it can save a lot of trouble down the road.
Is it hard to learn how to prep a wall for wallpaper? Not really—but some walls are more difficult than others. The complexity of the task depends on the type of wall you have and what it looks like in its present state.
To help you prepare your wall, we’ve put together a brief overview of the steps you need to take to ensure a successful wallpaper installation.
1. Smooth the Wall

You need to remove anything on the wall that keeps it from being continuously smooth, such as old nails and flaky paint. This also includes taking off any light switch plates and outlet covers. You should be able to remove these with a screwdriver, but it’s advisable to shut off all the power to the room first to avoid a possible shock.
Once you have removed all the removable objects, you probably still have more work to do in order to smooth out what remains before you can apply wallpaper. Don’t expect your wallpaper to be able to hide blemishes such as small holes in the wall.
Use sandpaper on uneven surfaces to reduce bumps and similar flaws. Vinyl spackling paste is helpful for filling any gaps; it usually takes one or two hours to dry. What if you have existing wallpaper already in place? The best strategy is to remove it, rather than applying your new wallpaper over it. Leaving the old wallpaper, especially if it’s in subpar condition, can interfere with the installation of the new wallpaper. But even if the old wallpaper is in good shape, it might show through the new design you have chosen for your wall.
 Be careful when removing old wallpaper, though—you could harm the drywall. For best results, use one of ROMAN Products’ wallpaper removers. You may also wish to have a scraper on hand for particularly troublesome areas. What if you have a textured wall?
Hanging wallpaper on these kinds of walls can not only lead to unsightly bumps, it can also create tiny pockets that can harbor mold. There are several ways to smooth textured walls for wallpaper. You can try smoothing it out by applying a coat of joint compound (a.k.a. drywall mud). Another tactic is to apply lining paper.
2. Wash the Wall

Before you go any further with the installation process, you should make the wall as clean as you can. If you’ve been sanding the wall, it’s likely you’ve left behind a coat of dust that needs to be removed. Aside from that, there’s probably dirt and other spots that need to be dealt with.
A combination of warm water and vinegar with a cloth or sponge is usually all you need to create the clean surface you want. Some people first run a vacuum over the wall to aid in removing dust particles. Whatever you do, be sure that the wall is totally dry before you proceed to the next step.
3. Apply a Primer

Now you should apply a primer to the wall to help with your wallpaper installation. It’s important to ensure that you have a primer that is formulated for the type of wall you have. For instance, wood paneling will call for a wallpaper primer different from what you’d use on plaster walls. At ROMAN Products, you can find the best primer for textured walls, painted walls, or virtually any other type of surface.
Is wallpaper primer necessary? It’s certainly very helpful. Primer creates a barrier between the wallpaper and the wall itself, which helps with the installation process, and also reduces the likelihood of causing harm to the wall due to the adhesive seeping through. Lastly, primer makes it much easier to remove the wallpaper when it eventually comes time to do this.
 Before you begin applying the primer, however, it is important to test the surface for compatibility. You can do this by applying a little bit of primer to a small, out-of-the-way area of the wall. Come back 24 hours later to see if there's anything wrong with the primer. If everything looks fine, you can proceed with the primer.
Once the primer has been fully applied with a brush or roller, you should remove any excess coating from the wall. Use clean water to avoid contamination. It's also a good idea to wash your brushes and rollers immediately afterward with warm water and a mild soap.
Always follow the directions provided by the manufacturer when applying a primer. It is recommended that you allow ROMAN Products’ primers to sit for 24 hours after application to dry entirely.
4. Wash the Wall Again
Why? It’s vital to make sure that your wall is as clean as possible prior to installation. Remember that your wallpaper will be attached directly to the primer. Anything less than a spotless surface can impair the ability of your wallpaper to adhere properly.
When washing the wall this time around, it’s best to use a common non-abrasive cleaner with a cloth or sponge. There should be no need for more powerful chemicals. This step should be completed 24 hours before hanging your wallpaper.
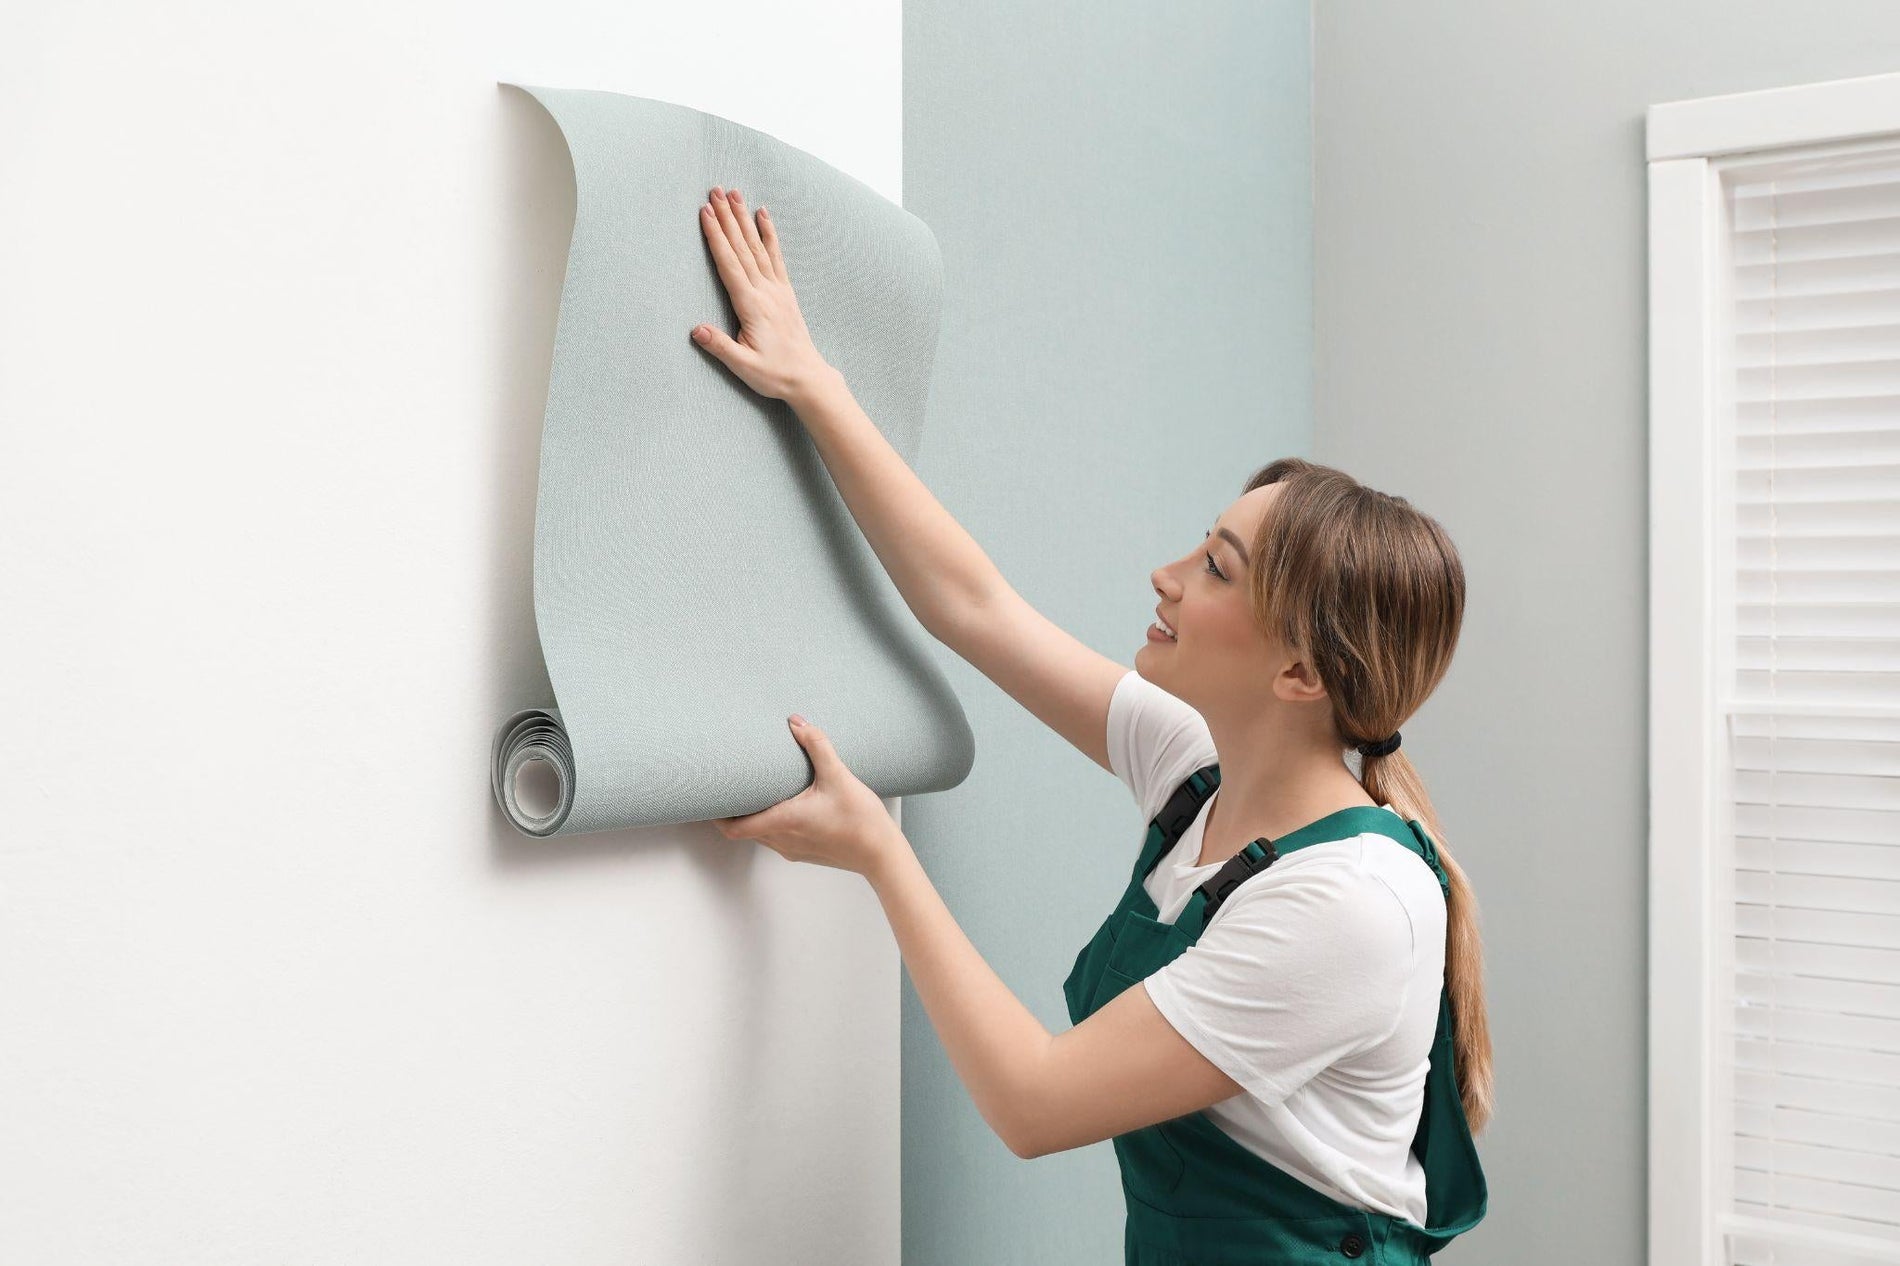
5. Hang the Wallpaper

Once 24 hours have passed and the wall is completely dry, you can install your wallpaper. You have successfully performed all the steps necessary to prepare your wall for this procedure.
Of course, you should gather all the proper materials before you begin. This includes the correct wallpaper adhesive. You can find what you need in ROMAN Products' line of high-quality wallcovering adhesives.
Recent Posts
-

How to Stick Wood Panels to Walls Without Nails
read more >> -

Installing a Waterproof Shower Surround
read more >> -

How to Install FRP and Wall Protection Panels
read more >> -

How to Layer Wainscoting With Wallpaper
read more >> -

How to Use Wallpaper to Create a Faux Brick Effect
read more >> -

Wallpapering Inside Closets & Pantries: A Fun Surprise Element
read more >>


