How to Install Real Wood Veneer Wallcovering
Recommended Primer and Adhesive:
- Primer – PRO-977 Ultra Prime Wallpaper Primer
- Adhesive – PRO-732 Extra-Strength Clay Wallcovering Adhesive
Receiving & Conditioning the Material
First, make sure that your wallcovering was delivered undamaged. If damage has occurred to the product, let the carrier know immediately and do not continue with the installation. When storing your wall covering make sure that it is kept in a clean, dry, and secure area. We recommend that you store your wall covering in a low humidity environment that holds a stable temperature range between 45 to 85 degrees Fahrenheit. Check the AWI Standard for your area.
When preparing your wallcovering, carefully remove them from the box and lay them face down flat on a table. Cover them with a sheet of vinyl and then place a sheet of plywood on top of the vinyl. Let the sheets of wallcovering rest for 48 hours. This will help the sheets rest and acclimate to the environment.
Preparing the Drywall
When preparing the surface for your wallcovering, it is important to make sure that the surface is smooth and clean. Moisture content in the wall substrate should be in around 9% or less. This can be checked with a moisture meter if necessary.
Before applying your wallcovering, prepare the drywall by priming it with PRO-977 Ultra Prime. If your wall has been previously covered or painted, lightly sand the surface in order to break the seal prior to applying the primer. When priming your wall, make sure that you follow the recommended spread rate and dry time.
Preparing for Application
On the bottom backside of each sheet of veneer is a flitch number and a sequence number. It is important that the wallcovering is installed from left to right in numerical order.
We recommend that you lay your sheets end-to-end on the floor. End matching is crucial in order to have the woodgrain of your veneer align properly. You’ll want to make sure that the pieces always match up bottom to bottom or top to top depending on the preferred orientation of your woodgrain.
At this point you’ll want to take the measurement of the gross width of your roll of veneer and calculate your nominal width, or net width. Factory trimmed edges must not be butt jointed during installation. You’ll want to overlap and double cut all your seams with a razor blade.
Lightly dampen the back of three sheets of wallcovering with a cellulose sponge. Once all of the sheets have been lightly dampened, roll the sheets and let sit for 20 minutes while the wall is prepared for application.
Next you’ll want to apply a uniform layer of the Roman PRO-732 extra strength clay adhesive using a standard ⅜ to ¾ inch nap paint roller. Make sure that the entire backside of the sheet is coated. Book the sheets and let sit for 20 minutes. It’s important to allow the proper time for the adhesive to tack after it’s been applied to prevent bubbling after installation.
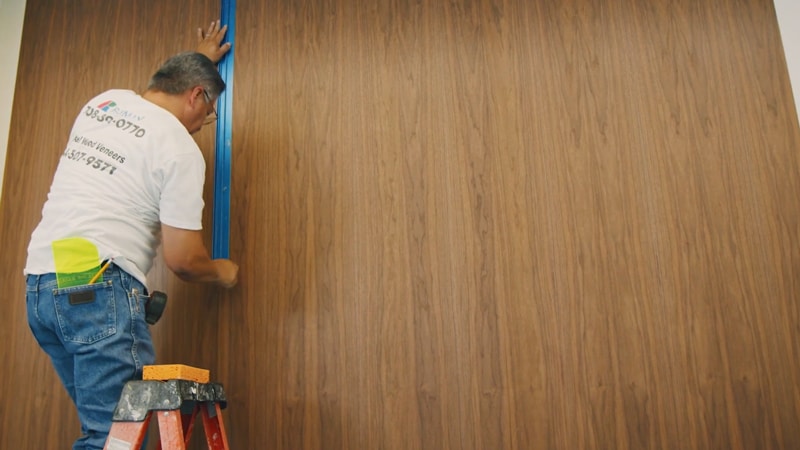
Application
Once it’s time to start hanging your wallcovering, draw a vertical line using a level or plumb line at your desired starting point. Draw all your vertical lines along the desired length to be covered. Mark your lines at the net width to account for overlap. Next, measure the height of your wall. Add at least two inches to that measurement and cut your veneer to length.
Apply an even coat of PRO-732 Extra-Strength Clay on the wall. Cover the area needed for three sheets of wood veneer. Beginning from left to right, hang your first piece of veneer making sure the right edge is following your straight, vertical line. Trim off the excess veneer using a straight edge and new razor blade.
Starting from the top, hang your next piece of veneer along your second vertical line, but don’t press it down yet. It will overlap with the first piece of veneer. Slightly raise the second piece of veneer and align the woodgrain to match. Once aligned, press the veneer down to remove any air bubbles. Then remove the excess veneer at the top and bottom. Repeat the same process for the third piece of veneer in your sequence.
Next, make an incision on the double seam at the top and bottom. Double cut through both pieces of veneer and remove the access material. Press the seam. Now your woodgrain should align perfectly.
Once you have 3 sheets of veneer hung, take a step back and inspect your work. If you’re happy with the results continue until the entire wall is covered. When finished, clean up any access adhesive with a natural sponge and clean water. Wipe dry with a clean, lint-free rag.
External Corners
Applying veneer to an external corner is done in the same manner as a heavy-duty vinyl wallcovering with one exception; when bending around an outside corner, wet the face of the prefinished veneer with clean water and a lint-free rag. The moisture added will make the veneer supple and allow the wood to bend around the corner without breaking. It is important that you have at least 3 inches on either side of the bend to prevent spring back.
If you are experiencing uneven corners, please contact a Real Wood Veneers LLC distributor for additional instructions.
Follow these same steps for internal corners as well.
It’s important to note that when using veneer on a corner, to only wrap with long grain. Don’t try to wrap corners cross grain.
Clean Up
Now that your wall is covered, simply clean any excess adhesive or dust with a natural sponge and clean water. Make sure you change your water often. Dry the area by lightly rubbing it with a lint-free rag.
Recent Posts
-

How to Stick Wood Panels to Walls Without Nails
read more >> -

Installing a Waterproof Shower Surround
read more >> -

How to Install FRP and Wall Protection Panels
read more >> -

How to Layer Wainscoting With Wallpaper
read more >> -

How to Use Wallpaper to Create a Faux Brick Effect
read more >> -

Wallpapering Inside Closets & Pantries: A Fun Surprise Element
read more >>


