How to Install Wallpaper
After proper preparation of the wall and your wallcovering, it’s time to install the wallcoverings on the surface. Remember, in most cases you shouldn’t install wallcoverings when the temperature is below 50° F to ensure that the wallcovering adhesive can adhere properly. Double check the instructions on your adhesive for application instructions for the necessary temperature range.
If you booked your wallcovering, then you will need to gently unfurl the strip before installing it. If the wallcovering manufacturer didn’t recommend booking, then you will roll on the wallpaper adhesive evenly before adhering the strip to the wall.
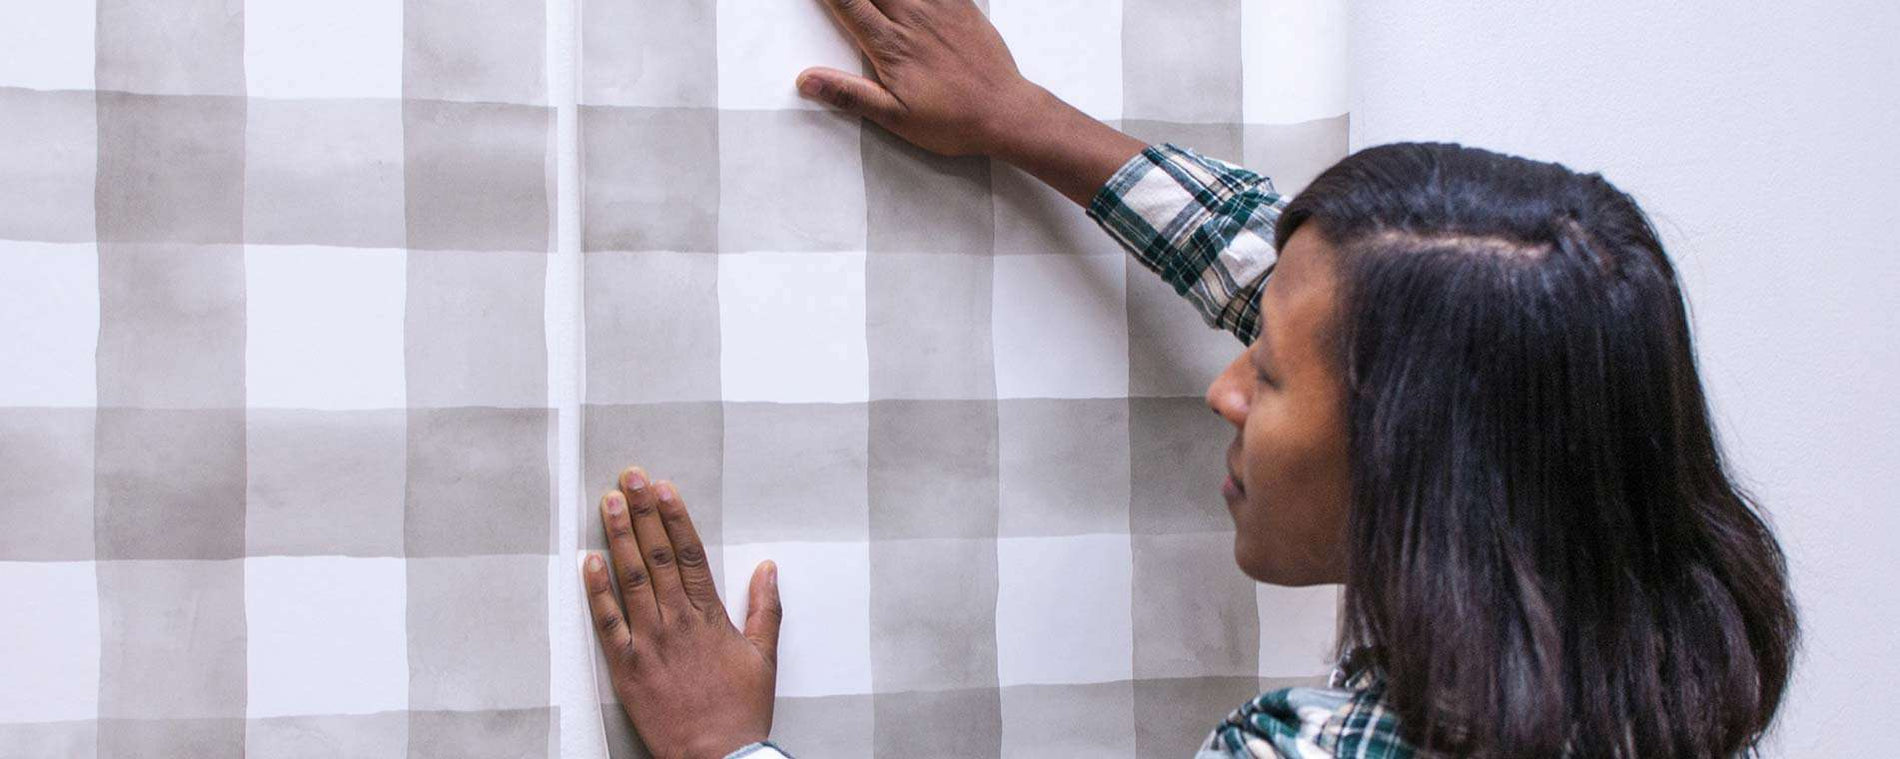
With the right primer and wallpaper paste, you will be able to slide the wallpaper across the wall and precisely into place. Once your strip is in place and hung straight, you can begin smoothing out air bubbles and adhering the wallcovering to the wall with your smoothing tool. Start at the ceiling and work your way down to tack, adhere, and smooth wallcoverings on your surface. Remember to be gentle so you don’t squeeze out extra adhesive and so you don’t tear delicate wallcoverings.
Then, take a snap blade knife to cut away excess wallpaper and wash away any excess adhesive with a damp sponge. After the first strip is placed, then continue around the room, butting the seams against each other, not overlapping. As you run into the various obstacles around the room, you will need to make relief cuts, which relieve pressure and tension on the wallpaper as you smooth it. These relief cuts allow you to adhere the wallcovering to the wall without tearing the material. Once you have smoothed your strip around the obstacle using relief cuts, then simply trim away the excess wallpaper as you do at the ceiling and baseboards.
Some common obstacles you may need to install wallpaper around include:
Where you place relief cuts depends on the type of obstacle you’re installing wallcoverings around. However, with any relief cut you make, it’s important to feel for the edges so you don’t cut too far into your wallcovering strip.
Wallpaper Installation How To's


Efficient Wallcovering Installation
Part of successful wallcovering installation is choosing the right tools for the job. Make sure you follow the wallcovering manufacturer’s installation instructions to ensure the results are gorgeous, durable, and long-lasting. Using the correct adhesive and completing the recommended prep work for your wallcovering project helps you achieve great results whether you’re a beginner or an old hand at hanging wallpaper. With ROMAN wallcovering installation products, you can save time and make wallcovering installation more efficient and effective. Our wallcovering adhesive formulations offer the features you need for a wide range of wallcoverings. Whether you need extra tack or better slip, we have the wallcovering installation adhesives you need to simplify the process. Our innovative installation tools also help easily prepare, hang, smooth, and cut wallcoverings during installation. For a more effective wallcovering project, choose our tried and tested products. As the number one preferred contractor brand, we help make wallcovering installation fast and easy for DIY-ers and professional installers alike.
Recent Posts
-

How to Stick Wood Panels to Walls Without Nails
read more >> -

Installing a Waterproof Shower Surround
read more >> -

How to Install FRP and Wall Protection Panels
read more >> -

How to Layer Wainscoting With Wallpaper
read more >> -

How to Use Wallpaper to Create a Faux Brick Effect
read more >> -

Wallpapering Inside Closets & Pantries: A Fun Surprise Element
read more >>


