
York - Garden Party Wall Mural
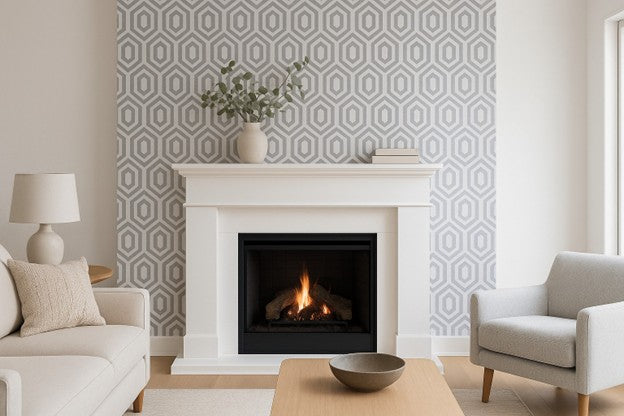
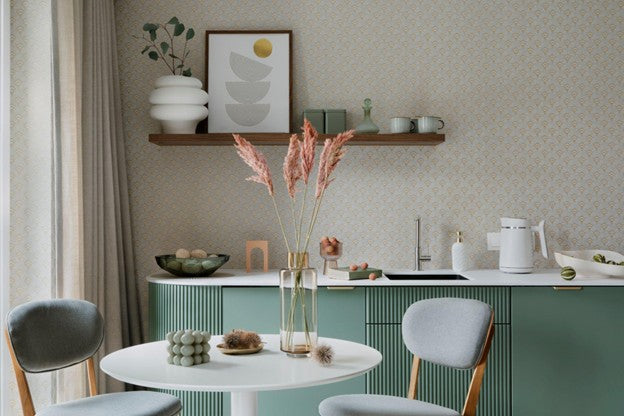
Wallpaper murals are a great way to add interest to a room. They create a focal point that can be used in homes or businesses to make a statement and change the mood of the space. The options are unlimited and can include maps, landscape scenes and even photos.
Hanging a mural wallpaper may sound intimidating, but by following these 6 steps, your finished project will look like it was installed by a pro:
1. Know the Types Of Mural Wallpaper
The first consideration is whether the mural is intended as a permanent installation or temporary. If your application is for an apartment or rental home and will need to be removed later, you can use a peel and stick mural. For permanent installations you can use prepasted, paste the wall or paste the paper murals. The steps to follow are basically the same regardless of which type of mural you choose.
2. Engineer The Room
Before making a final decision on which mural design to order, you will need to give considerable thought to how the image will fit on the wall. If the wall to be covered is plain, then your only concern is how the pattern will flow across the wall.
However, if there are interruptions in the wall such as windows and doors, you need to be sure that important elements of the pattern won’t be removed when cutting around these openings. In addition, consider how furniture or other permanent objects in the room may conceal part of the mural.
This step in the process may be the most important to ensure that the vision you start with matches the final results.
3. Order Your Mural Wallpaper
Ordering from most online stores is simple:
- Measure the wall that will be covered.
- Choose the design that suits your taste.
- Determine which type of mural you want: peel and stick, self-adhesive, paste the wall, or paste the paper.
When ordering the mural, many professionals recommend ordering the next size up from your actual wall dimensions. The reason: You will lose 1” on every 2 pieces that lap due to the need to double cut the seam. Most murals are manufactured to account for that loss, but if not, you could end up a couple of inches short of covering your entire wall.
4. Gather Your Tools
The tools needed to hang a mural are the same as those used for any wallpaper project. If you are using peel and stick or prepasted murals, then you may want to consider a product like E-Z Hang. It makes the panels easier to handle and move into place by adding “slip” to the paper while improving the adhesion. The other items you will need are:
- A bucket and sponge
- Step ladder
- Carpenter’s level and pencil
- Utility knife with break-off blades
- Paint tray, roller frame and rollers
- Paint brush
- All-purpose wallpaper primer
- Wallpaper adhesive
- Seam roller
- Wallpaper smoother
5. Prep The Walls
If the wall surface is not properly prepared, you cannot get a great finish. Your walls need to be clean, smooth, and dry. Fill any holes with drywall mud and then sand smooth. Wipe down the entire wall to be sure any dust is removed. You can use a lightly dampened sponge or tack cloth for this task.
Once the wall is dry, roll on a high quality wallpaper primer like ROMAN PRO-999 Rx-35 to ensure proper adhesion between the wallpaper and the adhesive.
6. Install Your New Wallpaper Mural
The first thing you will need to do is lay your mural out on the floor to ensure the pattern on the paper matches the picture you bought and will center on the wall correctly. If the mural contains all full length panels, you can generally start in the left corner and work to the right. Some larger murals will contain panels on the top and bottom. Follow the instructions in the packaging to make sure you get a precise pattern match on adjacent pieces.
Paste the wall is the easiest method of installation and will give the best results for the DIYer. Here are the steps for hanging mural wallpaper using paste the wall method.
Start by using the carpenter’s level to draw a vertical reference point. If you are starting in a corner, overlap the corner if necessary to keep the wallpaper level with your line. You can trim the excess when complete. The panels should be long enough to leave at least two inches extra for the top and bottom of the piece.
Apply the wallpaper adhesive in an area slightly larger than the width of the panel you are working with. An excellent adhesive to use is ROMAN PRO-880. It is great for most types and weights of wallpaper and it makes stripping much easier when the time comes.
Start hanging the paper at the top leaving about two inches extra on the ceiling. Make sure the paper aligns with your reference mark and smooth the air bubbles out using a Christmas tree motion — sweeping the smoothing tool down and outward. Start the second piece by overlapping the edge of the first panel by two inches. Make sure the pattern matches. The mural should have been manufactured with the overlap in mind. In fact, if you don’t overlap the pieces, the patterns will not line up correctly. You will double cut this overlap afterwards, giving you a clean seam.
As you move along, keep the wallpaper free of glue by wiping with a damp sponge. Use the seam roller to ensure that the edges are embedded in the adhesive and continue to use the smoothing tool to keep the bubbles out. After the mural is hung and you are satisfied that all the patterns match, go back and trim the top, bottom and corners of the piece.
Where To Buy The Best Wallpaper Paste And Tools
ROMAN Products makes the wallpaper industry’s number one adhesives, primers, and removers. In fact, our line includes almost everything you will need to complete your next wallpaper project. Professionals and DIYers alike have depended on our products for decades and they can be found in most hardware and big box stores across America and around the world.
Contact us today and let us help you get your next project started right.
See the video below to learn how to hang a wallpaper mural with professional wallpaper installer Katie Hunt.
Recent Posts
-

How to Layer Wainscoting With Wallpaper
read more >> -

How to Use Wallpaper to Create a Faux Brick Effect
read more >> -

Wallpapering Inside Closets & Pantries: A Fun Surprise Element
read more >> -
How to Install Wallpaper on a Fireplace Surround for a Bold Touch
read more >> -
How to Wallpaper a Kitchen Backsplash (and Waterproof It)
read more >> -
How to Remove Stains From Wallpaper Without Ruining It
read more >>


