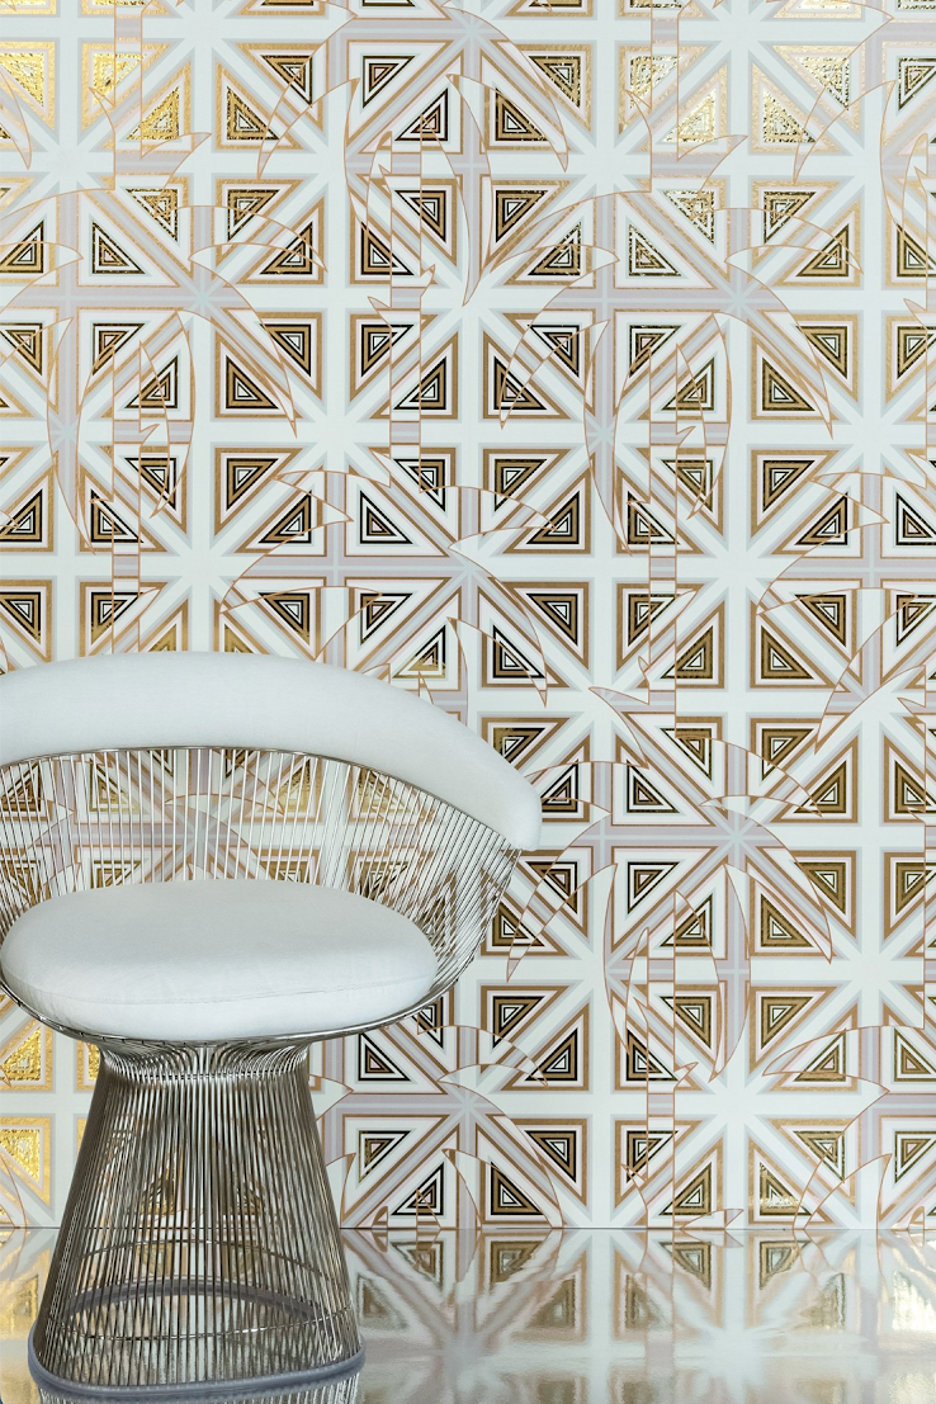

Flavor Paper - Mirage Mylar Wallpaper
Mylar wallcovering is an eye-catching and durable design option that can turn practically any wall into an attractive focal point. Mylar is a metallized polyester film that offers a reflective finish, which has made it a popular option for adding a touch of luxury to both residential and commercial interiors. Although often mistaken for foil wallcoverings, Mylar is more resistant to tearing while maintaining a sleek, metallic look.
In this article, we will walk through the step-by-step process of how to attach Mylar to a wall, covering everything from surface preparation to the final steps of ensuring a flawless installation.
Preparing the Walls for Mylar Installation
Mylar wallcovering is highly reflective, which means any imperfections—like bumps, cracks, or uneven surfaces—will be visible once the material is applied. For this reason, extra care must be taken to ensure that the walls are perfectly smooth.
Start by removing any old wallpaper or debris from the wall. If there are cracks or holes, these need to be filled and sanded down for an even surface. For best results, consider applying a liner paper to help smooth out rough areas before beginning the Mylar installation.
Once the wall is free of imperfections, it’s important to prime the surface. ROMAN offers a range of high-quality primers, such as PRO-977 Ultra Prime, which helps create a durable, even base for wallcovering installation. Proper priming also improves adhesion and prevents moisture issues that can affect the long-term durability of the Mylar wall.
Tools Needed for Installing Mylar Wallcoverings
Installing Mylar requires tools that are gentle yet effective to avoid damaging the delicate, reflective surface. You’ll need the following:
- Plastic Smoothing Tool: Metal tools or abrasive materials can easily scratch or burnish the surface of Mylar. Use a plastic smoothing tool or a felt-blade tool wrapped in a microfiber cloth to smooth the material without causing damage.
- Razor Blades: Mylar is tough on cutting blades, so ensure you have plenty of single-edge razor blades on hand. Changing the blade after each cut will ensure clean, sharp edges for perfect seams.
- Damp Sponge and Soft Cloth: These are essential for cleaning excess adhesive from the surface as you install each strip of Mylar. Use a damp sponge followed by a soft cloth to prevent streaking or damage to the surface.
- Adhesive Roller (3/8-inch nap): Use this to apply an even coat of adhesive to either the wall or the back of the Mylar, depending on the installation method.
- Plumb Line: A plumb line is essential for ensuring that the first sheet of Mylar is hung perfectly straight.
Adhesive Application and Hanging Methods

The choice of adhesive will depend on the type of Mylar you're working with, and ROMAN offers a range of high-performance options, such as ECO-788 Clay Strippable Wallcovering Adhesive, which is compliant with the NSF/ANSI 342 Sustainability Standard.
There are two primary methods for installing Mylar:
- Wet Hang Method
- Apply the adhesive directly to the back of the pre-trimmed Mylar sheet, making sure it is evenly distributed.
- Let the sheet "book" (rest with adhesive) for a few minutes to allow the adhesive to activate, then align and smooth it onto the wall with a plumb line.
- Use your plastic smoothing tool or a damp sponge to press the material flat against the surface, preventing any air bubbles.
- Dry Hang Method
- In this method, the adhesive is applied directly to the wall using a roller with a 3/8-inch nap.
- The unpasted Mylar is then carefully aligned with the previous strip, creating a butt seam.
- Once in position, smooth the wallcovering using your smoothing tool to ensure proper contact with the wall and eliminate air pockets.
These methods provide flexibility depending on the project, but the goal in each is to avoid adhesive on the surface of the Mylar, which can be difficult to clean once dry.
Smoothing and Seaming the Mylar

Once the Mylar wallcovering has been hung, it’s essential to smooth the material carefully to eliminate air bubbles and ensure proper adhesion without damaging the surface. Due to Mylar’s delicate, reflective surface, you’ll want to take extra precautions when smoothing and seaming.
Initial Hand Smoothing: It’s recommended to start by smoothing the wallcovering by hand to prevent any scratches or burnishing that could occur with tools. Gently press the Mylar into place, working from the center of the strip outward toward the edges.
Using a Smoothing Tool: You can follow up with a smoother like the KLASS Woven Smoothing Tool. Wrap the tool in a microfiber cloth or use a damp sponge to guide it across the surface to avoid scratching. Hold the smoothing tool at a 45° angle to the wall and work from the center of the sheet outward to eliminate any air pockets.
Seaming: When cutting seams, always use a fresh, sharp razor blade to ensure a clean, precise cut. Cut and clean each seam immediately after installation to avoid adhesive buildup, which can cause the seam to separate later. For the best results, clean the seams with a damp sponge followed by a soft, dry cloth to remove any excess paste. Taking these careful steps will help you achieve a flawless finish on your Mylar wall.
Cleaning
During and immediately after installation, wipe the material gently with a damp sponge or soft cloth to remove any adhesive before it dries. Mylar is sensitive to certain cleaning agents and tools, so following the right care procedures will prevent damage to its reflective surface.
Remember: When installing any type of wallcovering, it’s best to use only high-quality tools and products to ensure a smooth, durable finish. From primers to adhesives, using the right materials will help you avoid common wallcovering issues like bubbling or peeling. ROMAN offers a range of wallpaper installation products, including primers, adhesives, and smoothing tools, designed to give you professional results every time. By investing in the best supplies, you can ensure that your Mylar wallcovering looks flawless and lasts for years to come.
Recent Posts
-

How to Stick Wood Panels to Walls Without Nails
read more >> -

Installing a Waterproof Shower Surround
read more >> -

How to Install FRP and Wall Protection Panels
read more >> -

How to Layer Wainscoting With Wallpaper
read more >> -

How to Use Wallpaper to Create a Faux Brick Effect
read more >> -

Wallpapering Inside Closets & Pantries: A Fun Surprise Element
read more >>


