
If a room is too hot or too cold when the wallpaper is applied, one or more installation issues can arise, either immediately or at some time in the not-too-distant future. Therefore, it is vitally important to make sure that the temperature and humidity of the room are within acceptable limits during installation. It’s also a good idea to use specialized wallpaper products that can counteract the negative effects of excessive heat and moisture.
ROMAN Products has some helpful suggestions on how to prevent temperature and humidity from spoiling your next wallpaper installation project.
Why Ambient (Room) Temperature and Humidity Are Important
Temperature extremes can interfere with the drying of the wallpaper adhesive. Cold temperatures prolong drying times, while hot temperatures shorten them. In either case, you may find it difficult to ensure that the wallpaper ends up in the right position.
Climate also has a direct impact on the behavior of the wallpaper itself. Excessive heat can force the wallpaper to expand during installation; afterward, when temperatures dip, the material might shrink, leading to unsightly gaps on the surface. In cold weather, wallpaper tends to become stiff and difficult to handle.
Humidity is also a significant factor that must be considered. Some installation jobs get ruined when hot humid air enters the room and reactivates the recently dried adhesive; as a result, the newly installed wallpaper separates from the surface.
But in a lot of cases, climate-related harm isn’t obvious at first—it only becomes apparent when, due to inadequate adhesion, the wallpaper begins curling or bubbling years before these issues normally arise.
Another—and more serious—problem is mold. The presence of mold can trigger a host of respiratory issues and other health problems, and a poor wallpaper installation job may inadvertently encourage the growth of these organisms. Types of harmful fungi often found thriving behind wallpaper include Penicillium chrysogenum and Penicillium expansum. Wallpaper in humid climates is especially prone to creating a welcoming environment for these kinds of fungi.
With smart preparation, however, it’s possible to sharply reduce the odds of encountering these kinds of troubles.
Selecting the Right Wallpaper Materials
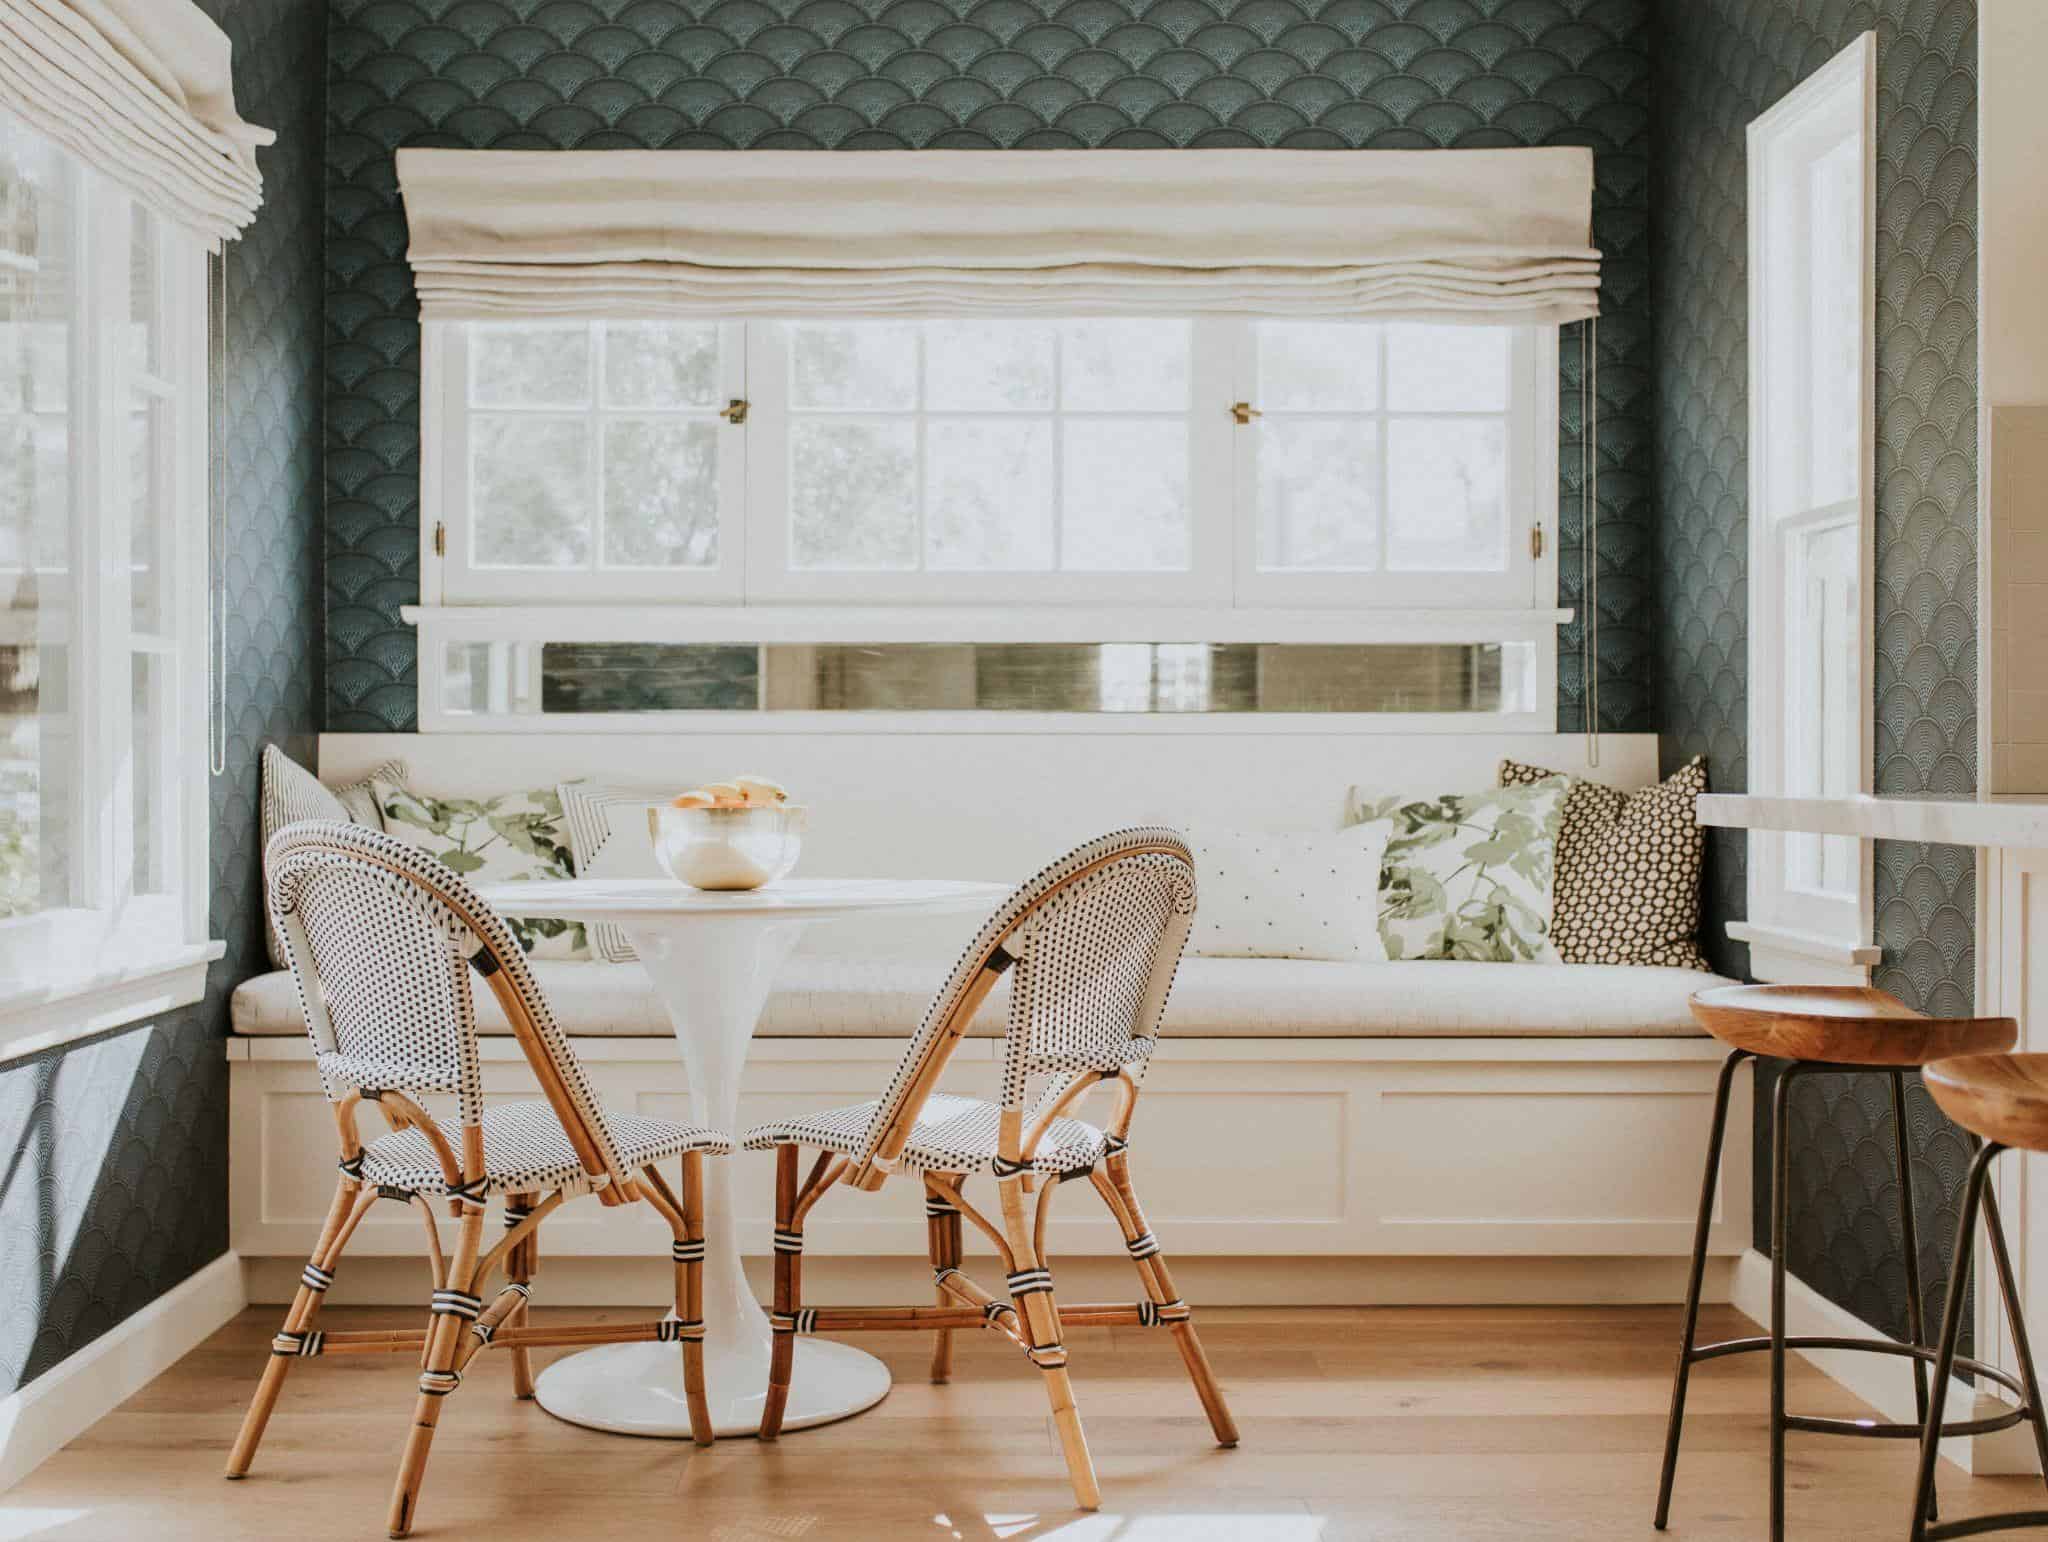
To prevent mold from wreaking havoc, consider opting for breathable or “micro-vented” wallpaper. These kinds of wallpaper are inspired by a simple principle: Mold absolutely needs moisture in order to survive and grow. Therefore, wallpaper with a porous texture will enable air to circulate through and prevent damp spots from building up behind the material—a common cause of mold growth in the home.
The kitchen and bathroom tend to be exceptions to this rule. Due to the large concentration of hot, moist air in these rooms, it is advisable to choose non-breathable (impermeable) wallcoverings such as vinyl.
In general, non-woven wallpaper has a high degree of breathability, but this can vary. Look for wallcovering with a high permeability (perm) rating—it should be over 10.
When it comes to permeable materials, it’s not just your wallpaper that you have to be concerned about. Using the wrong adhesive or primer can result in trapped moisture as well, which will undo your careful efforts to prevent the spread of mold. You need accessories that work with breathable and micro-vented wallpaper, such as anti-mold and anti-mildew primer.
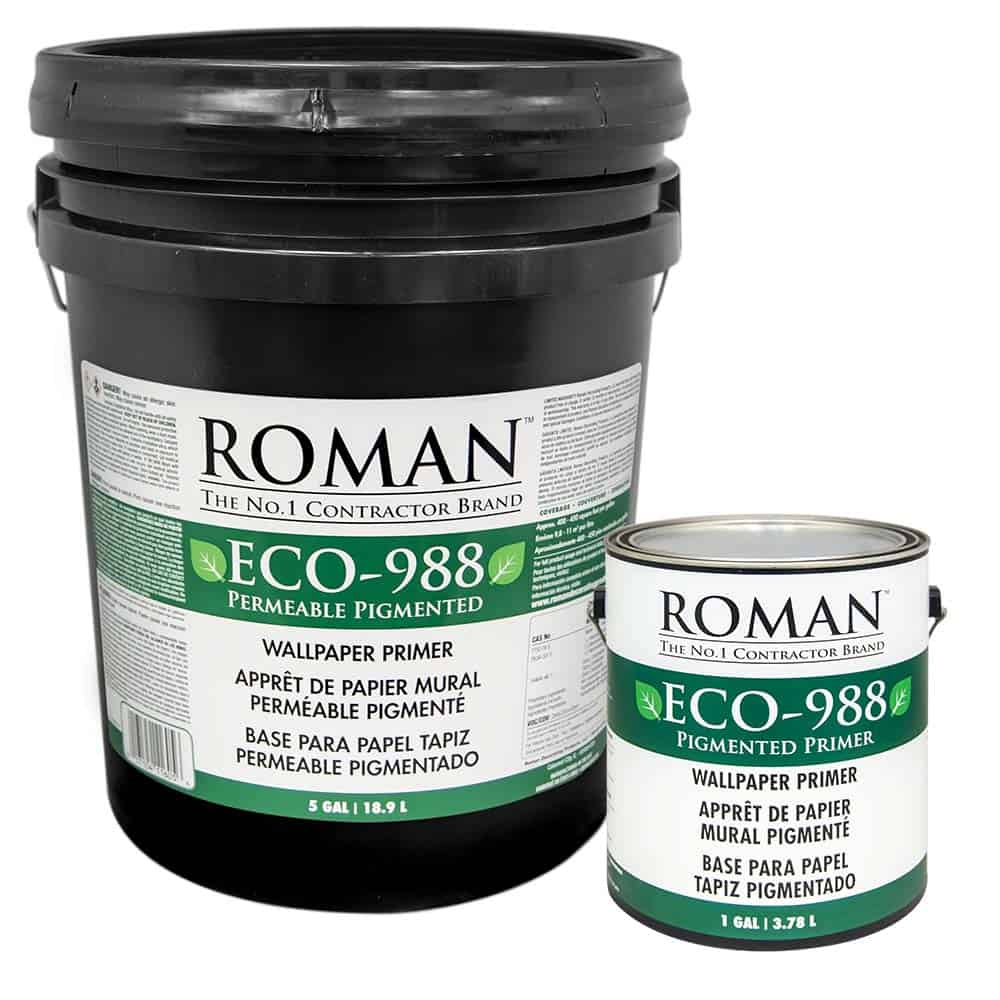
Luckily, ROMAN Products offers a selection of permeable primers and adhesives suitable for installation of these types of wallpaper. For instance, ROMAN’s ECO-988 Pigmented Wallcovering Primer is especially formulated for permeable wallcoverings. And like all ROMAN products, it includes a biocide formula to help resist the growth of mold and mildew on the primer film.
Getting the Room Ready for Wallpaper
Before you begin installing your wallpaper, check to see if climate conditions are right. That means you should be looking to be somewhere in the middle of the following two ranges:
- Temperature: 60°F – 80°F
- Humidity: 30% – 50% RH
You also need to check the moisture level of any walls you will be covering. It’s worth investing in a moisture meter—they’re available for under $50—or you could just borrow one from a neighbor. The moisture content of the wall should generally not exceed 4%. Anything above this level needs to be addressed before you proceed with your installation.
If you’re stripping off old wallpaper to make way for a new design, then you also need to remediate any mold spots that you encounter on the wall—this is not the kind of thing you can just cover up. Of course, the wall should be as clean, smooth, and dry as you can get it prior to installation. Remember, mold needs sufficient moisture to grow.
When installing wallcovering in a bathroom, be sure the room is fitted with proper ventilation and appropriately sized exhaust fans in order to control humidity levels.
How to Acclimate Wallpaper
One way to counteract the potentially harmful effects of climate is to allow the wallpaper to acclimate properly prior to installation. This isn’t an elaborate process. It just means allowing the wallpaper to adjust to the normal humidity and temperature levels in the room prior to installation. By doing so, the wallpaper will expand or contract in harmony with the conditions of the room. That will help the wallpaper adhere securely to the surface.
How long does it take for wallpaper to acclimate? Always check the manufacturer’s recommendations for guidance. For some types of wallpaper, acclimation isn’t needed at all. Generally speaking, though, it should take 24-48 hours. The best practice is to lay the rolls out flat, and avoid stacking them; otherwise, the rolls may not all accumulate in the same way.
Common Installation Issues
Here’s a brief overview of some additional complications that can arise during the installation process:
Temperature and humidity are not consistent during and following the installation
Here’s a scenario that sometimes occurs even with installation professionals: The room is properly conditioned to the ideal temperature and humidity during the day when the wallcovering is being installed—but when everyone leaves, the HVAC system is turned off and the area soon becomes too hot, too cold, or too humid. Fluctuations in temperature and humidity can cause the wallpaper to shrink and expand, resulting in loose seams and other problems with adherence.
Excess heat from vents
When hanging wallcovering near heating vents, be aware that heat from the vents may dry out wallpaper adhesive too quickly. This can lead to bubbling or adhesion issues.
Improper storage of wallpaper adhesive
Be sure to store your wallpaper adhesive in a cool, dry place, ideally between 60°F and 80°F. The adhesive should never be allowed to freeze.
You can always visit ROMAN Products for the best wallpaper primers, adhesives, and related accessories available today. Feel free to explore our wide-ranging online product catalog today.


