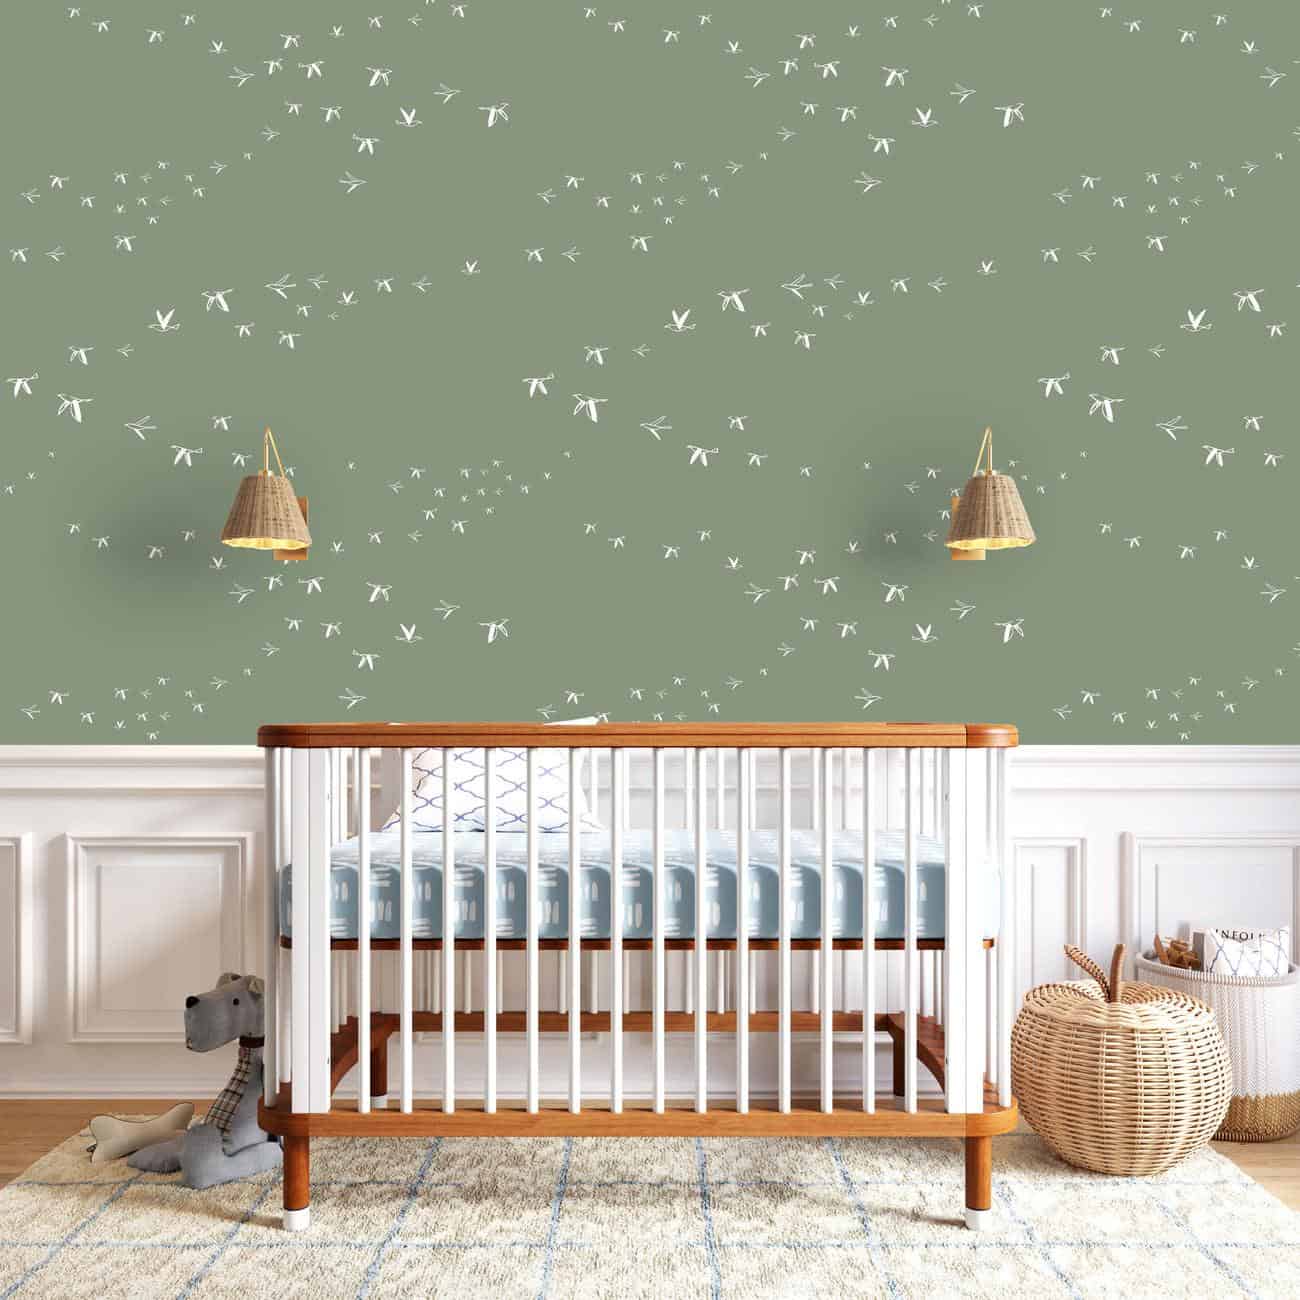
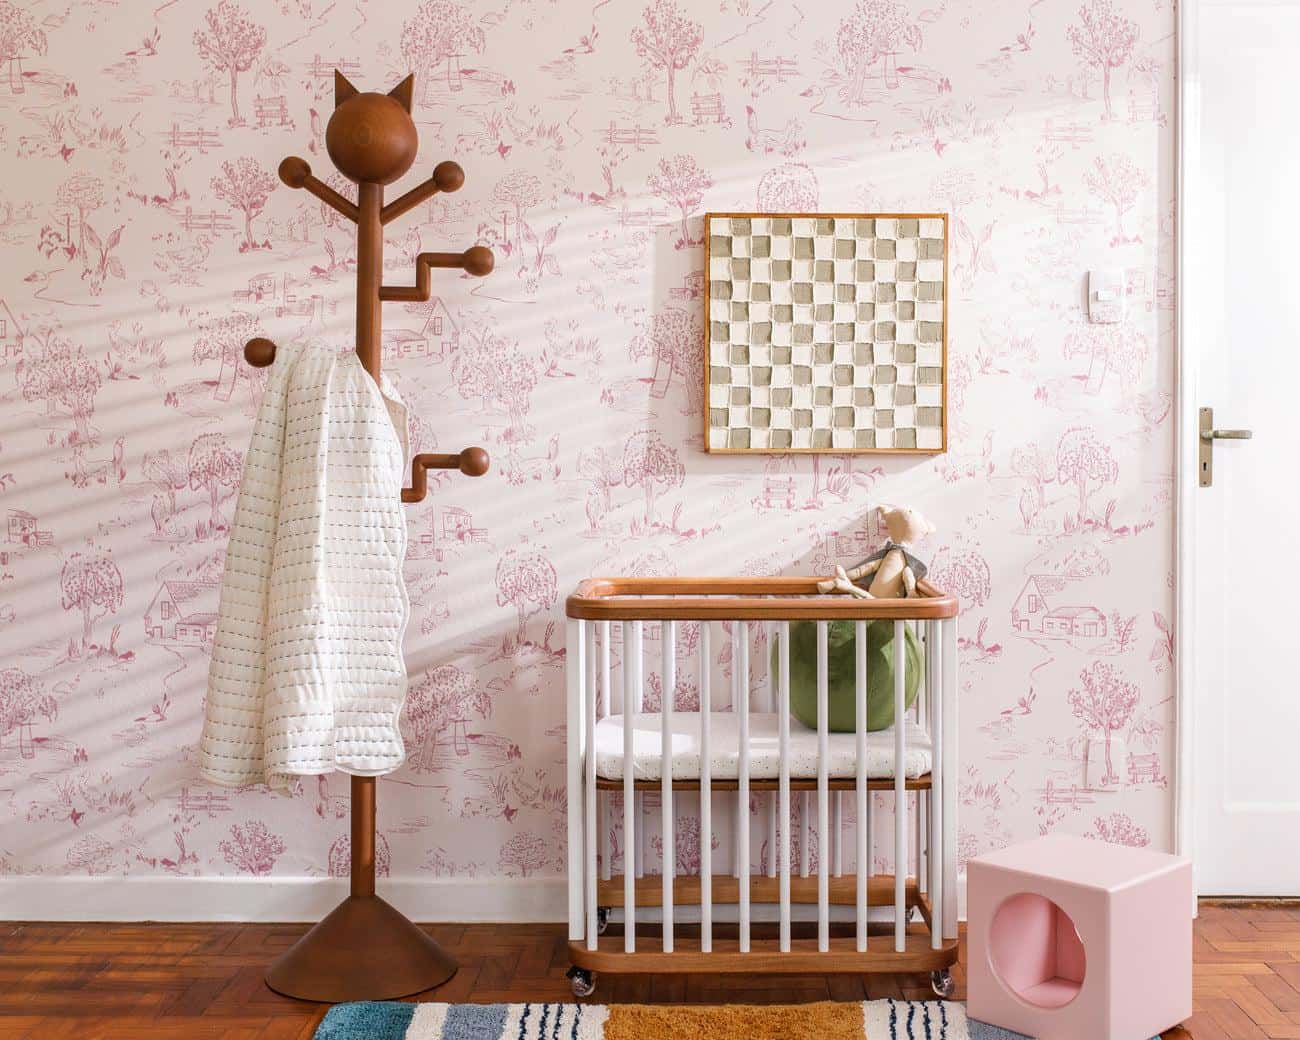
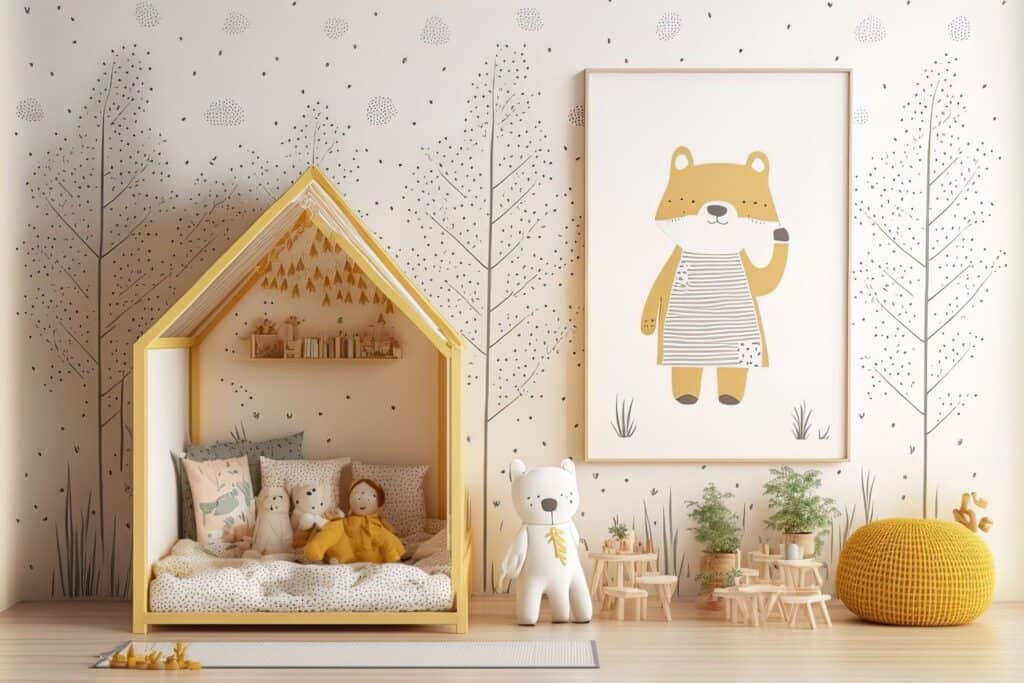
The nursery is a unique area of the home, not only in its function but its appearance as well. Everything about the nursery is geared toward the needs and perspective of a child, so it’s customary to decorate these places with all sorts of accessories and designs that would look completely out of place in a living room or any other area where adults gather. In other words, the process of decorating a nursery requires you to think a little differently—and that extends to your choice of wallpaper for the room.
Some homeowners choose to paint the walls of the nursery, but wallpaper really gives you a chance to go wild with interesting patterns and designs. Most people don’t have the kind of artistic skill to render the kinds of pretty, intricate shapes and figures that are a common feature of wallpaper intended for the nursery.
Wallpaper is easy to install; you just need to gather the right materials and understand the process. The team at ROMAN Products has put together a brief guide that will help you do just that.
Selecting Nursery Wallpaper
Finding the right wallpaper for your nursery has a lot to do with personal taste, but even so there are some guidelines that you should bear in mind.
When you’re decorating your nursery, you’re creating what is essentially a temporary space. The little individuals who will be spending so much of their day there will soon grow out of that phase in their lives. That means you don’t need to worry about what that cute cartoon-themed wallpaper will look like in twenty years’ time—it’s not going to be there.
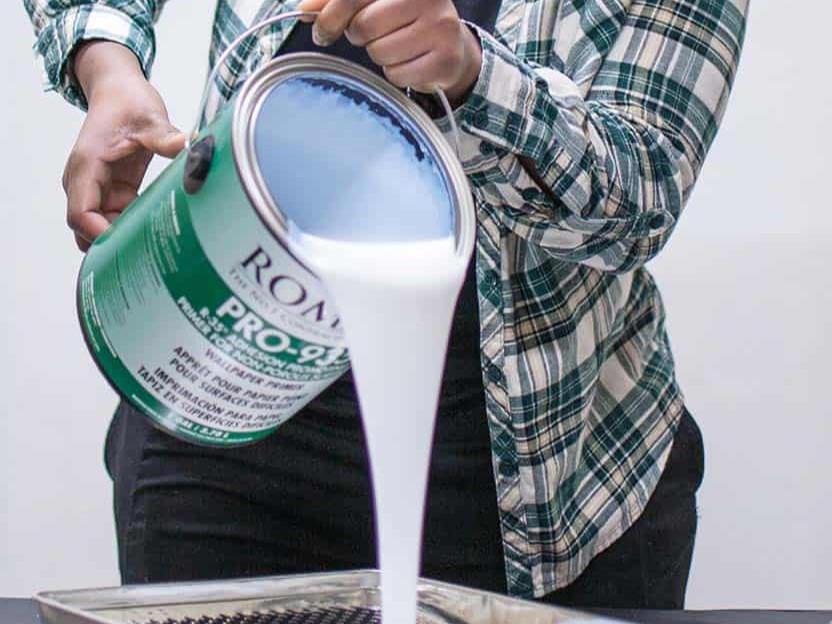
With that in mind, many homeowners opt for peel-and-stick wallpaper for the nursery, as this type is best suited for temporary applications. Traditional wallpaper is always a good choice, though, but it is essential that you first prepare the surface with primer. Not only does primer help with wallpaper adhesion, it enables the effortless removal of the material when it’s time to do that. Otherwise, you might end up with a big mess on your hands when you try to take off your wallpaper, and you could even cause serious damage to the drywall.
Whatever type of wallpaper you finally choose, you’ll probably need more of it than you think. Remember that you’ll be cutting off a few inches of each end of the wallpaper when you install it. You should also allow for a certain amount of waste due to accidental damage to the wallpaper, particularly if you’re new to DIY installation. Ending up with too much wallpaper is definitely less of a hassle than being forced to make do with too little.
Color

When deciding on a color for your nursery wallpaper, you need to consider the overall mood you want to create. Be aware that the other colors in the room—furniture, accessories, etc.—also play a role in forming the atmosphere that children will be immersed in. A nursery with a lot of neutral colors can benefit from bright, vibrant wallpaper. Conversely, a preponderance of bright colors throughout the room can be offset with wallpaper that shows soft pastel colors like lavender and pale blue.
These days, gender-neutral colors are widely popular. If you’re trying to create that kind of space, you may wish to select earthy or muted colors.
Pattern

There are plenty of pattern styles for the nursery, from floral to geometric. As a general rule, smaller patterns tend to “expand” the room visually; larger patterns help to create a more intimate space.
Bold, intricate wallpaper patterns give the child stimulating visuals to gaze at, and these designs also provide the added benefit of concealing imperfections on the wall. Really flashy patterns can seem overwhelming when they appear on all four walls of a room, however, especially if you have a small nursery. If you want to avoid that kind of effect, you may wish to settle for using wallpaper only on an accent wall; the other walls can be painted with a complementary color (that is, one that appears directly opposite on a standard color wheel).
Another way of achieving a balanced paint-and-wallpaper combo is to apply your wallcovering on the top half of each wall and use paint on the bottom half.
You should also consider the overall “theme” of the room to ensure that the wallpaper matches the prevailing decor. If you’re going for an outdoorsy theme, for example, you might want to use wallpaper with woodland-inspired scenes or similar patterns.
Safety considerations
Non-toxic wallpaper is essential for the nursery. By “non-toxic” we mean wallpaper that has a low or zero concentration of Volatile Organic Compounds (VOCs), which are chemicals that have been shown to have a variety of negative health impacts, including respiratory issues. Look for wallpaper that is manufactured using natural fibers and printed with water-based inks.
It’s also a good idea to search for “Class A fire rated” wallpaper. This is the class of wallpaper that has demonstrated the highest level of resistance to fire, according to standards set forth by the National Fire Protection Association Life Safety Code, NFPA No. 101 Although Class A wallpaper isn’t totally fire-resistant, it burns more slowly than lower-rated wallcoverings.
To reduce the likelihood of mold forming underneath the wallcover, you may wish to choose non-woven wallpaper. This is a very “breathable” design that prevents moisture from being trapped and creating an environment for mold. Additionally, it can be easily dry-stripped, without the need for spraying water or steaming, making it easier to remove than traditional wallpaper.
Installing the Wallpaper

We’ll assume that you’ve already selected and obtained the wallpaper you plan to use. The next step is to assemble the tools and accessories necessary for installation. These include:
- Wallpaper brush
- Smoother
- Utility knife
- Level
- Bucket of water (with sponge)
- Step ladder
- Wallpaper primer (ROMAN’s ECO-988 White Wallpaper Primer is a zero VOC option ideal for nursery application.
- Wallpaper adhesive (ROMAN’s ECO-888 Premium Clear Strippable Wallcovering Adhesive is a zero-VOC liquid that also has excellent tack)
But before you apply anything to the wall, you need to prepare the surface.
Preparing the wall
The wall should be as clean and smooth as possible.
Presuming you’re ready to proceed, you can begin as follows:
- Remove any nails and other items attached to it, patch up holes (vinyl spackling is good for this), and sand down uneven patches. Don’t assume that the wallpaper will cover these kinds of blemishes.
- Clean the wall thoroughly with water and vinegar. Wait until the wall is totally dry before you proceed.
- Apply primer to the wall with a brush or roller. If you want to be certain that your primer is compatible with the surface, you can first test it on a small, unobtrusive area of the wall, let it sit for 24 hours, then check to see if it looks okay.
- Once the wallpaper primer is applied, remove any excess liquid and allow 12 hours for drying.
- Wash the wall again with a non-abrasive cleaner. Remember, you’re aiming to create as clean a surface as you can get; a second cleaning will aid in avoiding problems with wallpaper adhesion down the road.
After the surface has completely dried (give it 24 hours after washing), you’re ready for the wallpaper.
Hanging the wallpaper
If you have wallpaper with a repeating pattern in which not every individual panel is identical, you should take care to lay out the wallcoverings in their proper sequence.
- Use your roller to apply the wallpaper adhesive to the area where the first panel will be hung. Don’t spread adhesive over the entire surface all at once, as the liquid could dry before you get to it. Try to apply the adhesive as evenly as you can.
- Beginning at the top of the wall, begin attaching the wallpaper panel to the surface. Your smoother will aid you in pressing the wallcovering down firmly and removing air bubbles.
- Once the wallpaper is fully attached, use your utility knife to trim the top and bottom of the panel.
- Use a lightly damp sponge to remove any excess adhesive from the wallcovering before you continue to the second panel. Adhesive that has completely dried can be difficult to remove.
- Repeat the process with the second panel. Be careful to align the edge of the wallcovering with the first panel. (The extended open time of ROMAN’s ECO-888 adhesive makes it easy to “float” the material into proper position.)
Now you can just keep going until the surface is covered.
ROMAN Products offers a variety of wallcovering adhesives, primers, and related accessories that are safe for use in the nursery. Feel free to explore our inventory of wallcovering products.


