Wallpaper has long been a favorite design element to bring elegance to a room and grab your attention. Unfortunately, as it gets older, damage can occur and what was once beautiful has now become an eyesore. We’ll show you how to repair the most common types of wallpaper damage, like curling corners, bubbles, and opening seams.
Learning how to repair wallpaper damage such as tears, open seams, curling and bubbles, only requires a little time and effort, but the reward will be time and money saved by not having to replace the whole piece of wallpaper. In this article we’ll cover the techniques needed to address the following repairs:
- How to repair curled wallpaper
- How to fix wallpaper bubbles
- How to repair loose wallpaper seams
- How to patch wallpaper
If the wallpaper repair is handled properly by working slowly and carefully, the mend should be almost invisible. Let’s review the 4 main wallpaper repairs you are likely to see:
How To Repair Curled Wallpaper
Curled wallpaper is due to a poor or weakining bond between the wallpaper and the wall, which may be caused by insufficient adhesive, humidity issues or because the seams were not rolled properly. As a result, a corner of the paper pulls away from the wall and begins to curl over time.
Wallpaper that has been in a curled condition for an extended period of time will often develop what is known as “memory” — it wants to return to that shape. Because of this, you may need an additional tool to persuade the paper to lie flat again — a heat gun.
The basic procedure for repairing curled wallpaper is listed below.
- Using a paint brush, apply an even coat of adhesive to the wall beneath the curl. For large repairs, ROMAN PRO-880 Ultra-Clear Adhesive is recommended. Ensure that the area is completely covered.
- Using a heat gun (or hair dryer) and a smoothing tool, work the wallpaper back into the desired position. Keep the heat gun a safe distance from the paper as you work it and the smoothing tool back and forth to complete the repair.
- The heat gun will remove the wallpaper’s memory allowing it to return to its normal shape. When finished, wipe away any excess paste.
How To Repair Wallpaper Bubbles
Air bubbles, or blisters as they are referred to, are usually the result of improper installation. There may be a small chip of paint or piece of dirt that has kept the wallpaper from bonding with the glue. The installer may have missed this area when smoothing out the panel, allowing air to remain under the paper. Fortunately, there is a simple remedy for this issue.
- Locate the bubble, and using a sharp utility knife (exacto knife), make an “X” over the area. Try to follow any lines in the pattern to make the incision less noticeable.
- Check for any dirt or paint in the bubble and remove it if found. Then press all of the air out of the area.

- Using a glue syringe, inject the adhesive into the bubble making sure that the entire area is coated with paste (ROMAN PRO-880 is an excellent choice).
- Take your smoothing tool and work it in all directions, squeezing out the excess paste until the bubble is removed. Wipe away any excess adhesive.
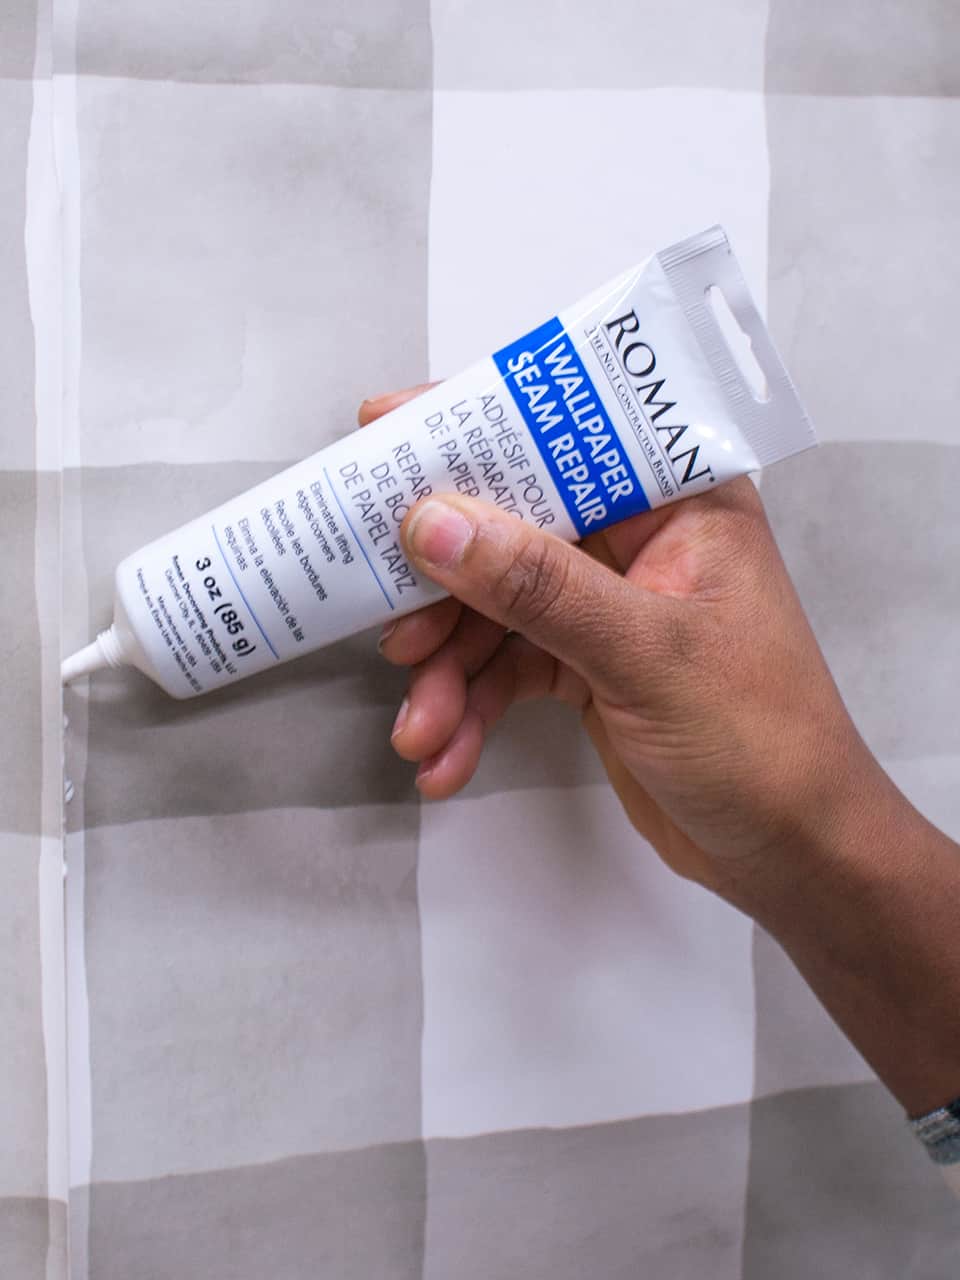
How To Repair Loose Wallpaper Seams
As with other wallpaper damage, loose seams can be traced to some sort of installation issue. Perhaps the seam roller pushed too much paste from under the paper or if it was peel-and-stick there may have been an inadequate amount of adhesive applied at the factory. In addition, if the seams are at or near a corner, they can be prone to being bumped and come loose for that reason.
- Most simple repairs can be completed with just some adhesive and a smoothing tool. Stubborn seams that won’t lay flat may need to be warmed up with a heat gun or hair dryer.

- Pull the seam back and apply the seam repair adhesive behind the paper. Allow 3 - 5 minutes for the adhesive to tack up before sealing the seam. Using a smoothing tool, work the adhesive to all loose areas behind the seam until it is flat again.

- If the seam refuses to lay flat, use a heat gun to help relax the wallpaper, which should solve the problem
- Sometimes, small horizontal tears will occur if the seam has been open for awhile. These can be repaired at the same time, but be sure that the decorative face of the wallpaper is the top piece that goes over the bottom flap when smoothing it out.
How To Patch Wallpaper
There will be situations when the damage can only be fixed by cutting out the affected piece of wallpaper and replacing it. Patching up wallpaper is one of the more difficult repairs, but you can achieve excellent results by going slowly and carefully following the steps below.
- FILL ANY HOLES with spackling compound after removing the patch and peeling off the damaged wallpaper section.
- Before starting, make sure you fill any holes below the patch area with drywall compound and sand smooth. Then wipe with a damp cloth to remove any remaining drywall dust.
- Position the extra wallcovering over the area to be patched.
- Match the pattern and cut out a small section to be used for the patch.

- Secure the patch to the wall with painter’s tape over the repair area.
- Make sure the patch you are going to use is large enough to cover the repair.
- Use a new sharp blade to cut out a section around the repair area (somewhat larger than the actual patch needed).
- Cut through both the patch and the underlying wallpaper but avoid cutting too deeply into the drywall.
- Remove the trimmed section and clean up any rough sections.
- Check to make sure the patch fits properly.
- Apply a light coat of wallpaper paste (ROMAN PRO-880) to the patch area.
- Apply the patch and smooth the area.
- Use the smoothing tool to finish the job and wipe away any excess paste.
ROMAN Products Is A Great Resource For Professional Wallpaper Supplies
Installers and DIYers have been using our products for over 75 years because we manufacture wallpaper primers, adhesives and removers that are second to none in the industry. Our customer service desk is staffed by folks that know the wallpaper industry inside and out. We can provide installation instructions, online instructional videos or you can speak with one of our associates MON - FRI 8:30 AM to 4:30 PM CT.
Contact our customer service professionals today and let us help you complete your next wallpaper project.
Recent Posts
-

How to Stick Wood Panels to Walls Without Nails
read more >> -

Installing a Waterproof Shower Surround
read more >> -

How to Install FRP and Wall Protection Panels
read more >> -

How to Layer Wainscoting With Wallpaper
read more >> -

How to Use Wallpaper to Create a Faux Brick Effect
read more >> -

Wallpapering Inside Closets & Pantries: A Fun Surprise Element
read more >>


